Reupholstering furniture is a transformative and creative endeavor that allows you to give a fresh lease of life to your beloved pieces. Whether you have an antique chair with sentimental value or want to revamp your living room decor, understanding the art of reupholstery can be immensely rewarding. In this introductory guide, we will delve into the world of furniture restoration, offering you insights and step-by-step instructions to embark on your own DIY reupholstery journey. Get ready to explore the craft of breathing new life into old furniture and adding a personal touch to your living spaces.
Selecting the Right Piece for Reupholstery
Reupholstering furniture is a transformative and creative endeavor that allows you to give a fresh lease of life to your beloved pieces. Whether you have an antique chair with sentimental value or want to revamp your living room decor, understanding the art of reupholstery can be immensely rewarding. In this introductory guide, we will delve into the world of furniture restoration, offering you insights and step-by-step instructions to embark on your own DIY reupholstery journey. Get ready to explore the craft of breathing new life into old furniture and adding a personal touch to your living spaces.
Gathering Necessary Tools and Supplies
have these tools and supplies on hand, you’ll be well-prepared to tackle your reupholstery project efficiently and effectively. Here’s a checklist.
- Upholstery Fabric: Select the fabric of your choice, ensuring it matches your design vision and is appropriate for the furniture type.
- Staple Gun: A staple gun is indispensable for securing the new fabric to the furniture frame.
- Staples: Stock up on staples that are compatible with your staple gun to avoid interruptions during the project.
- Scissors: High-quality scissors are essential for precise fabric cutting.
- Needle and Thread: You’ll need these for any hand-sewing that may be necessary.
- Pliers: Pliers will help in removing staples and tacks from the old upholstery.
- Screwdriver and Wrench Set: For disassembling and reassembling furniture components.
- Upholstery Tacks or Nails: These may be required for certain types of furniture.
- Foam or Padding: Depending on the condition of the existing padding, you might need new foam or batting.
- Adhesive: Upholstery adhesive can be handy for securing fabric in tricky areas.
- Measuring Tape: Precise measurements are crucial for achieving a professional finish.
- Rubber Mallet: This tool helps to secure the furniture components without damaging them.
- Safety Gear: Don’t forget safety glasses and gloves to protect yourself during the project.
- Work Area Covering: Cover your work area with a drop cloth or plastic sheet to catch debris and staples.
- Camera or Smartphone: Take photos as you disassemble the furniture to aid in reassembly.
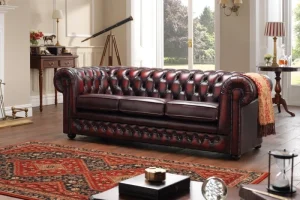
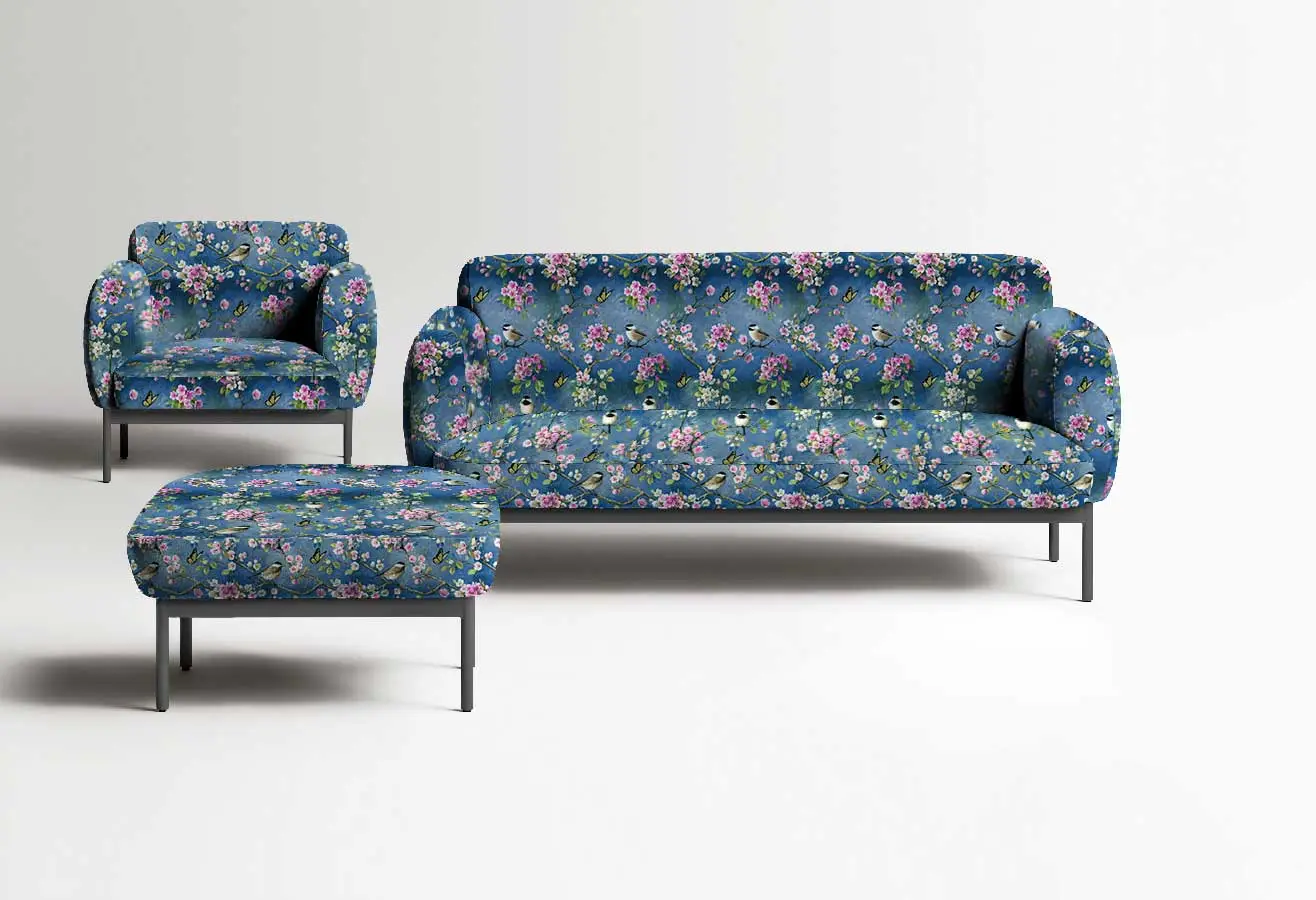
Choosing the Perfect Upholstery Fabric
Choosing the perfect upholstery fabric is a critical decision in the reupholstery process, as it significantly impacts the final look and durability of your furniture. When selecting upholstery fabric, consider several key factors. First, assess the function of the furniture – whether it’s for heavy daily use or more decorative purposes. Next, think about the style and color scheme of your space; the fabric should harmonize with your interior design. Durability is paramount, so opt for fabrics with high rub counts if the piece will see frequent use. Additionally, factor in maintenance requirements; some fabrics are more stain-resistant and easier to clean than others. By carefully considering these factors, you can confidently choose upholstery fabric that not only enhances the aesthetics of your furniture but also ensures its long-term resilience.
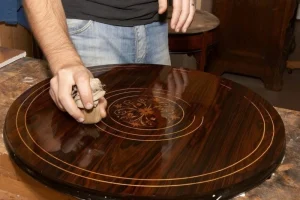
Stripping the Old Upholstery
Stripping the old upholstery is a crucial step in the reupholstering process, as it sets the stage for the transformation of your furniture. This step involves carefully removing the existing fabric, padding, and any other materials from the furniture frame. It can be a meticulous and sometimes time-consuming task, but it’s essential for achieving a professional result. When stripping the old upholstery, pay close attention to the condition of the frame, springs, and any padding underneath. This inspection will help you identify any necessary repairs or adjustments that need to be made before proceeding with the new upholstery. By taking your time and ensuring a clean slate, you’ll be well-prepared to breathe new life into your furniture with the fresh fabric of your choice.
Preparing the Furniture Frame
Preparing the furniture frame is a crucial step to ensure a solid foundation for your reupholstery project. Here are the key points to consider:
- Frame Inspection: Thoroughly examine the furniture frame for any signs of damage or weakness. Check for loose joints, cracked wood, or any structural issues.
- Repairs: If you find any problems during the inspection, make necessary repairs before proceeding. This may involve regluing joints, replacing broken parts, or reinforcing weak areas.
- Cleaning: Remove any dust, dirt, or old adhesive from the frame’s surface. A clean frame will ensure better adherence for the new upholstery.
- Padding Assessment: Inspect the padding or foam beneath the fabric. If it’s worn out or uneven, consider replacing it to ensure a comfortable and uniform finish.
- Alignment: Ensure that all components of the frame are properly aligned. This step is vital for achieving a symmetrical and well-fitted final result.
- Sanding and Smoothing: Sand any rough or uneven areas of the frame to create a smooth surface for the new fabric. This step helps prevent wrinkles and creases in the upholstery.
- Tack Removal: Remove any old upholstery tacks, staples, or nails that may be left in the frame from the previous upholstery.
By following these points and thoroughly preparing the furniture frame, you’ll create a solid and stable foundation for the new upholstery, ultimately leading to a more successful and professional-looking reupholstery project.
Cutting and Attaching the New Fabric
Cutting and attaching the new fabric is where your reupholstery project truly takes shape. With the old upholstery removed and the furniture frame prepared, it’s time to work on the aesthetic transformation. Carefully measure and cut your chosen upholstery fabric to fit the various components of your furniture. Pay close attention to patterns, ensuring they align correctly for a polished look. Using a staple gun, attach the fabric securely to the frame, starting with the most prominent areas like the backrest or seat. Pull the fabric taut but not too tight to avoid distortion. Corners and folds should be neatly pleated and secured. This step requires patience and precision, but as you see your piece slowly coming to life with the new fabric, the satisfaction of your reupholstery project will be undeniable.
Final Touches and Reassembly
In the final touches and reassembly stage of your reupholstery project, you’ll bring all your hard work together for a polished and complete transformation. This step involves carefully reattaching any removed components, such as legs or cushions, to the furniture frame. Ensure that everything fits snugly and securely. Trim any excess fabric, and double-check that all staples or fasteners are concealed beneath the upholstery. If necessary, add any finishing touches like decorative tacks or buttons to enhance the piece’s aesthetic appeal. As you admire your revitalized furniture taking its place in your living space, you’ll appreciate the meticulous effort that has gone into creating a beautiful, customized, and renewed piece of home decor.
Tips for a Successful Reupholstery Project
Following these tips will not only make your reupholstery project smoother but also increase the chances of achieving a professional-looking and satisfying result. Here are some valuable tips to ensure a successful reupholstery project.
- Plan Thoroughly: Begin with a clear plan, including fabric choice, tools, and a step-by-step process to follow.
- Take Photos: Document the disassembly process with photos to aid in reassembly.
- Quality Tools: Invest in high-quality tools and supplies for better results and ease of work.
- Measure Twice: Precise measurements are crucial to avoid fabric wastage and ensure a snug fit.
- Practice Patience: Reupholstery can be time-consuming; take your time to avoid mistakes.
- Safety First: Wear appropriate safety gear, especially when using staple guns and sharp tools.
- Pattern Alignment: Pay attention to pattern alignment for a professional finish.
- Tight, Not Too Tight: Pull fabric taut, but avoid overstretching, which can lead to wrinkles.
- Neat Corners and Folds: Master the art of neatly pleating corners and folds for a clean look.
Secure Staples: Ensure all staples are securely fastened to prevent fabric sagging.
Consider Professional Help: Complex projects may benefit from professional upholstery services.
- Test Fabric Compatibility: Test your chosen fabric with a small piece before committing to the whole project.
- Keep the Original: If possible, preserve any original fabric or parts for future reference or restoration.
- Maintenance Tips: Provide care instructions to the furniture’s new owner to maintain its longevity.
Conclusion
In conclusion, reupholstering furniture is a transformative journey that marries creativity, sustainability, and a personal touch. It empowers you to revive worn-out pieces, reducing waste and environmental impact while adding unique character to your living space. The satisfaction of seeing a cherished item reborn, the preservation of history, and the potential for cost savings make reupholstery a fulfilling and eco-conscious choice. So, whether you’re an experienced DIY enthusiast or a first-time upholsterer, embrace the art of reupholstery and embark on a journey that not only revitalizes your furniture but also brings a sense of accomplishment and individuality to your home decor.